How to properly install a waterproof switching power supply to ensure its protective properties are intact?
Release Time : 2025-08-13
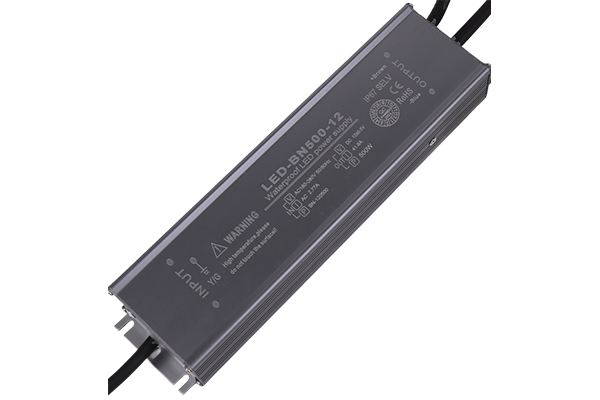
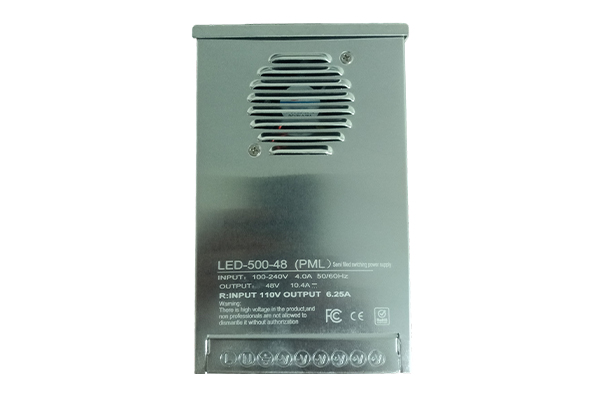
Proper installation of a waterproof switching power supply is crucial for ensuring its full performance. Even if the product itself has a high level of waterproofing, such as IP67 or IP68, improper installation can still cause seal failure, allowing moisture, dust, or corrosive substances to infiltrate, resulting in short circuits, component damage, or even safety accidents. Therefore, from pre-installation preparation to wiring, mounting, and ongoing maintenance, every step must strictly follow specifications to maintain the protective properties provided by the design.
Before installation, first confirm whether the operating environment matches the power supply's protection level. For example, a product designed for outdoor exposure to rain may not be suitable for long-term immersion or high-pressure water washing. Also, inspect the power supply casing for damage caused during transportation, such as scratches, deformation, or loose seals. Any minor damage can provide a path for moisture intrusion. If any abnormality is found, it should be replaced or repaired promptly; do not force the power supply into service.
Choosing a suitable installation location is crucial. Avoid exposing the power supply to continuous water flow or standing water. Even if it's waterproof, install it at an angle or use a rain cover to reduce the effects of water pressure. The mounting surface should be flat and stable to prevent vibration or external forces from loosening the fixing screws, which could compromise the integrity of the seal. When installing on metal or conductive surfaces, ensure proper insulation to prevent the enclosure from becoming live and potentially posing a safety hazard.
Sealing is particularly critical during installation. Most waterproof switching power supplies feature rubber seals or silicone gaskets at the connection ports and covers. During installation, ensure these seals are properly positioned, without twisting, folding, or misalignment. Tighten the cover screws evenly and diagonally to avoid excessive force on one side, which could cause deformation or a poor seal. Avoid using power tools for rapid tightening, as this can damage the sealing material or strip threads.
Wiring is the most vulnerable step to compromising the protective properties. Use standard waterproof cables for the power supply's input and output cables, and ensure the waterproof glands (cable glands) are properly tightened when inserting them into the connection ports. The inner diameter of the cable gland should closely match the outer diameter of the cable, and the locking nut should be fully tightened to fully compress the internal sealing sleeve, forming a watertight barrier. If using multiple cables, choose multi-hole waterproof connectors or seal them separately. Never cut cables thinner to fit overly small holes, as this will severely impair the waterproofing.
After all wiring is completed, carefully inspect the cables for pinching or strain when the cover is closed to prevent insulation damage caused by prolonged stress. Also, allow for a certain degree of curvature in the cable routing to prevent rainwater from flowing back along the cables and into the equipment. If necessary, install drip loops along the cable path or use waterproof tape to provide additional sealing at the connectors, but do not cover the heat dissipation area.
Before powering on, reconfirm that all components are properly installed and that there is no metal debris or residual moisture inside the power supply. During initial operation, briefly power on the power supply to observe for any abnormal heating, odor, or alarms. In humid or outdoor environments, it is recommended to regularly inspect the connection ports for looseness and seals for deterioration, and perform maintenance promptly.
In short, installing a waterproof switching power supply isn't just a technical undertaking; it's a systematic guarantee of safety and reliability. Only by meticulously adhering to every detail can we truly achieve the desired protection and ensure long-term, stable operation of the equipment in complex environments.


